I recently had a chat with someone around those really cool 3D product ads on websites. The last time I used three.js was professionally, around 5 months ago.
I realized that I miss it a little bit ❤️…
So I thought, why not experiment with mdx, react and three.js to render 3D scenes in a blog post?

What is Three.js?

3D Rendering
Without going into too much depth of how 3D rendering works, there are ALOT of ‘simple’ algebraic calculations that need to happen in order for us to have pretty visuals at 60 frames per second. For example,
- How do surfaces get lighter or darker depending on where the light sources are?
- How do we understand how glossy or matte a surface is?
3D Projection
Remember too, we see a representation of a 3D world projected onto our 2D monitors and finally, into our eyeballs. Here’s a simple example of how this is done in C++.
cpp
void PerspectiveCamera::OnUpdate(float delta)
{
    update_projection_matrix();
    update_vectors();
    update_view_matrix();
}
Shaders
The key here, is we need to do alot of algebraic calculations in parallel. Turns out, our GPU’s are very good at doing this with what we call, shader programs.
Here’s an example of a vertex shader:
glsl
uniform mat4 projection;  // Projection matrix
uniform mat4 view;        // View matrix
uniform mat4 model;       // Model matrix

layout(location = 0) in vec3 position;
layout(location = 1) in vec3 normal;
layout(location = 2) in vec2 texCoord;

out vec3 fragPosition;
out vec3 fragNormal;
out vec2 fragTexCoord;

void main() {
    // vertex position to world space
    fragPosition = vec3(model * vec4(position, 1.0));

    //  normal to world space
    fragNormal = mat3(transpose(inverse(model))) * normal;

    // texture coordinates to fragment shader
    fragTexCoord = texCoord;

    // Calculate final position in clip space
    gl_Position = projection * view * model * vec4(position, 1.0);
}
Within these programs, you will see many mathematical functions applied to vectors and matrices.
These high-level concepts really clicked when I worked with OpenGL in C++.
How is WebGL related to Three.js?
Three.js is a high-level javascript library that abstracts away much of the complexity of WebGL.
Let’s suppose we wanted to only use WebGL to draw a 3D spinning cube onto the screen like so
Now, yes, you can use raw webgl like an absolute chad, but do you really wanna write all of this?
- Defining Vertices
javascript
const positions = [
  // Front face
  -1.0, -1.0, 1.0, 1.0, -1.0, 1.0, 1.0, 1.0, 1.0, -1.0, 1.0, 1.0,
  // Back face
  -1.0, -1.0, -1.0, -1.0, 1.0, -1.0, 1.0, 1.0, -1.0, 1.0, -1.0, -1.0,
  // Top face
  -1.0, 1.0, -1.0, -1.0, 1.0, 1.0, 1.0, 1.0, 1.0, 1.0, 1.0, -1.0,
  // Bottom face
  -1.0, -1.0, -1.0, 1.0, -1.0, -1.0, 1.0, -1.0, 1.0, -1.0, -1.0, 1.0,
  // Right face
  1.0, -1.0, -1.0, 1.0, 1.0, -1.0, 1.0, 1.0, 1.0, 1.0, -1.0, 1.0,
  // Left face
  -1.0, -1.0, -1.0, -1.0, -1.0, 1.0, -1.0, 1.0, 1.0, -1.0, 1.0, -1.0,
];

gl.bufferData(gl.ARRAY_BUFFER, new Float32Array(positions), gl.STATIC_DRAW);- Loading Shaders
javascript
function loadShader(
  gl: WebGLRenderingContext,
  type: number,
  source: string
) {
  const shader = gl.createShader(type);
  if (!shader) return null;

  gl.shaderSource(shader, source);
  gl.compileShader(shader);

  if (!gl.getShaderParameter(shader, gl.COMPILE_STATUS)) {
    console.error(
      "An error occurred compiling the shaders: " +
        gl.getShaderInfoLog(shader)
    );
    gl.deleteShader(shader);
    return null;
  }

  return shader;
}- Working with Buffers
javascript
const numComponents = 4;
const type = gl.FLOAT;
const normalize = false;
const stride = 0;
const offset = 0;
gl.bindBuffer(gl.ARRAY_BUFFER, buffers.color);
gl.vertexAttribPointer(
  programInfo.attribLocations.vertexColor,
  numComponents,
  type,
  normalize,
  stride,
  offset
);
gl.enableVertexAttribArray(programInfo.attribLocations.vertexColor);
Don’t know about you, but I would rather not write 400 lines of code to get a cube onto the screen.
Here’s the equivalent in React Three Fiber and Drei with 300 lines less code and a camera!
Demo Time 🚀
We’re going to a create a simple product configurator 🎉
Getting the model
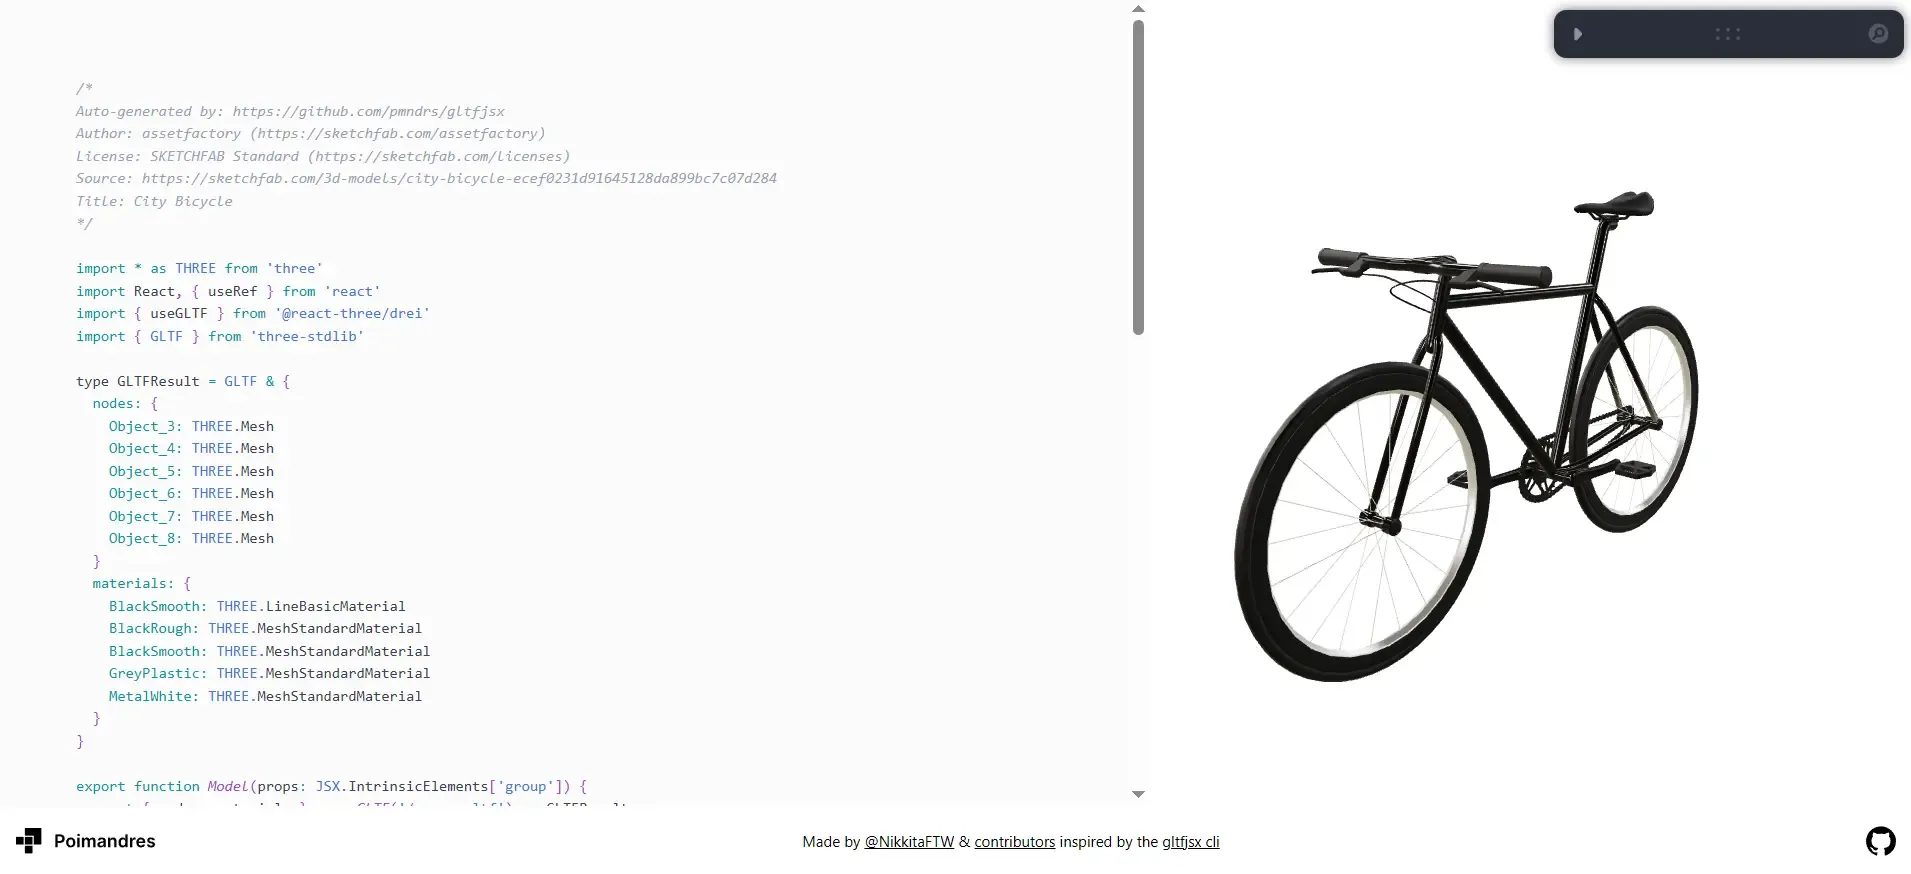
I’m going to yoink a simple model off of sketchfab.
Setting up the model
I happen to be quite lazy, so we’re going to use gltf-react-three to generate some code for us.

Upload the model, adjust some settings and hit download project.
You can find the model in scene/src/model.ts.
src/model.ts
/*
Auto-generated by: https://github.com/pmndrs/gltfjsx
Author: assetfactory (https://sketchfab.com/assetfactory)
License: SKETCHFAB Standard (https://sketchfab.com/licenses)
Source: https://sketchfab.com/3d-models/city-bicycle-ecef0231d91645128da899bc7c07d284
Title: City Bicycle
*/

import * as THREE from "three";
import { useGLTF } from "@react-three/drei";
import { type JSX } from "react";

export function Model(props: JSX.IntrinsicElements["group"]) {
  const { nodes, materials } = useGLTF("/scene.gltf");
  return (
    <group {...props} dispose={null}>
      <group rotation={[-Math.PI / 2, 0, 0]}>
        <mesh
          castShadow
          receiveShadow
          geometry={(nodes.Object_3 as THREE.Mesh).geometry}
          material={materials.BlackRough}
        />
        <mesh
          castShadow
          receiveShadow
          geometry={(nodes.Object_4 as THREE.Mesh).geometry}
          material={materials.BlackSmooth}
        />
        <mesh
          castShadow
          receiveShadow
          geometry={(nodes.Object_5 as THREE.Mesh).geometry}
          material={materials.BlackSmooth}
        />
        <mesh
          castShadow
          receiveShadow
          geometry={(nodes.Object_6 as THREE.Mesh).geometry}
          material={materials.BlackSmooth}
        />
        <mesh
          castShadow
          receiveShadow
          geometry={(nodes.Object_7 as THREE.Mesh).geometry}
          material={materials.GreyPlastic}
        />
        <mesh
          castShadow
          receiveShadow
          geometry={(nodes.Object_8 as THREE.Mesh).geometry}
          material={materials.MetalWhite}
        />
      </group>
    </group>
  );
}

useGLTF.preload("/scene.gltf");
Perfect, let’s import it into a simple scene
tsx
import { Canvas } from "@react-three/fiber";
import { OrbitControls, Stage } from "@react-three/drei";
import { Model } from "./bike";
import { useRef, Suspense } from "react";
import { OrbitControls as OrbitControlsImpl } from "three-stdlib";

const Configurator = () => {
  const ref = useRef<OrbitControlsImpl>(null);

  return (
    <Canvas shadows dpr={[1, 2]} camera={{ fov: 50 }} className="rounded-md">
      <Suspense fallback={null}>
        <Stage preset="upfront" intensity={1} environment="warehouse">
          <Model />
        </Stage>
      </Suspense>
      <OrbitControls ref={ref} />
    </Canvas>
  );
};

export default Configurator;
Cool! We have a bike 🥳
Changing the Color
I think it would be pretty cool if we could change the colors of some of the parts 🤔.
I’m going to leverage React’s, well, reactivity. Plus, I like Tailwind.
We’ll simply add a color prop to our model component from earlier.
Bike.tsx
interface BikeProps {
  frameColor?: string;
}
Now to add some state
Bike.tsx
const [frameMaterial, setFrameMaterial] = useState<THREE.Material | null>(null);And make it reactive
Bike.tsx
useEffect(() => {
  if (props.frameColor) {
    const newMaterial =
      materials.MetalWhite.clone() as THREE.MeshStandardMaterial;
    newMaterial.color = new THREE.Color(props.frameColor);
    setFrameMaterial(newMaterial);
  } else {
    setFrameMaterial(materials.MetalWhite);
  }
}, [props.frameColor, materials]);
And add some UI
tsx
const ColorPicker = ({
  selectedColor,
  onSelectColor,
}: {
  selectedColor: string;
  onSelectColor: (color: string) => void;
}) => {
  const colors = [
    { hex: "#4B4B4B" },
    { hex: "#C1121F" },
    { hex: "#007BFF" },
    { hex: "#228B22" },
    { hex: "#CD7F32" },
  ];

  return (
    <div className="grid grid-cols-3 gap-5">
      {colors.map((color) => (
        <button
          key={color.name}
          onClick={() => onSelectColor(color.hex)}
          className={`w-8 h-8 rounded-full cursor-pointer ${
            selectedColor === color.hex
              ? "ring-1 ring-offset-2 ring-accent-foreground"
              : ""
          }`}
          style={{ backgroundColor: color.hex }}
        />
      ))}
    </div>
  );
};
Demo
As you can imagine, this would be an amazing way to customize an order before buying a product.
My blog is open source so if you would like to see any of the source code, you’re free to do so.
Have an awesome day ❤️
Until next time 👋
